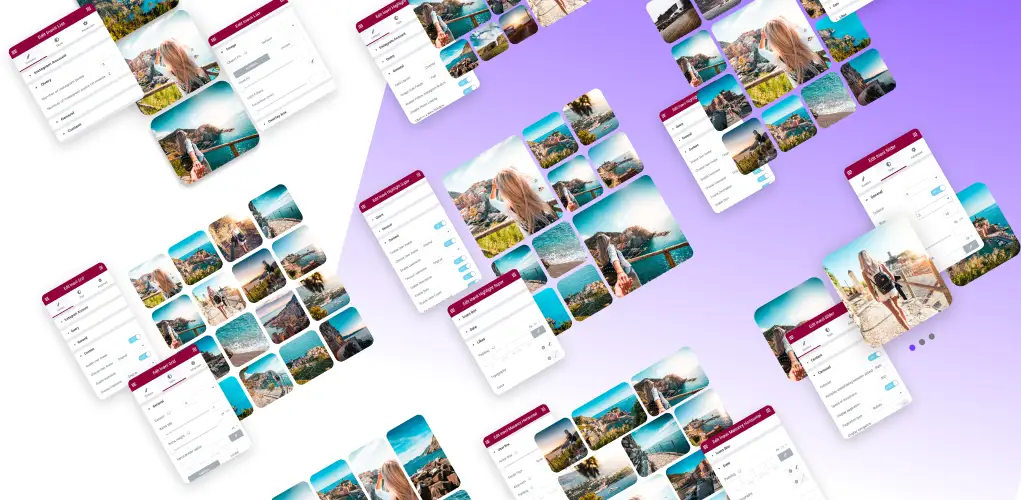
In this article, you will find out how easy and convenient it is to install Elementor Instagram Feed. You don’t have to be a person with technical skills and know how to use CSS code to make your website beautiful, inviting and eye-catching.
Follow some simple steps introduced below and enjoy your refreshed website look.
Step 1 Select feed type
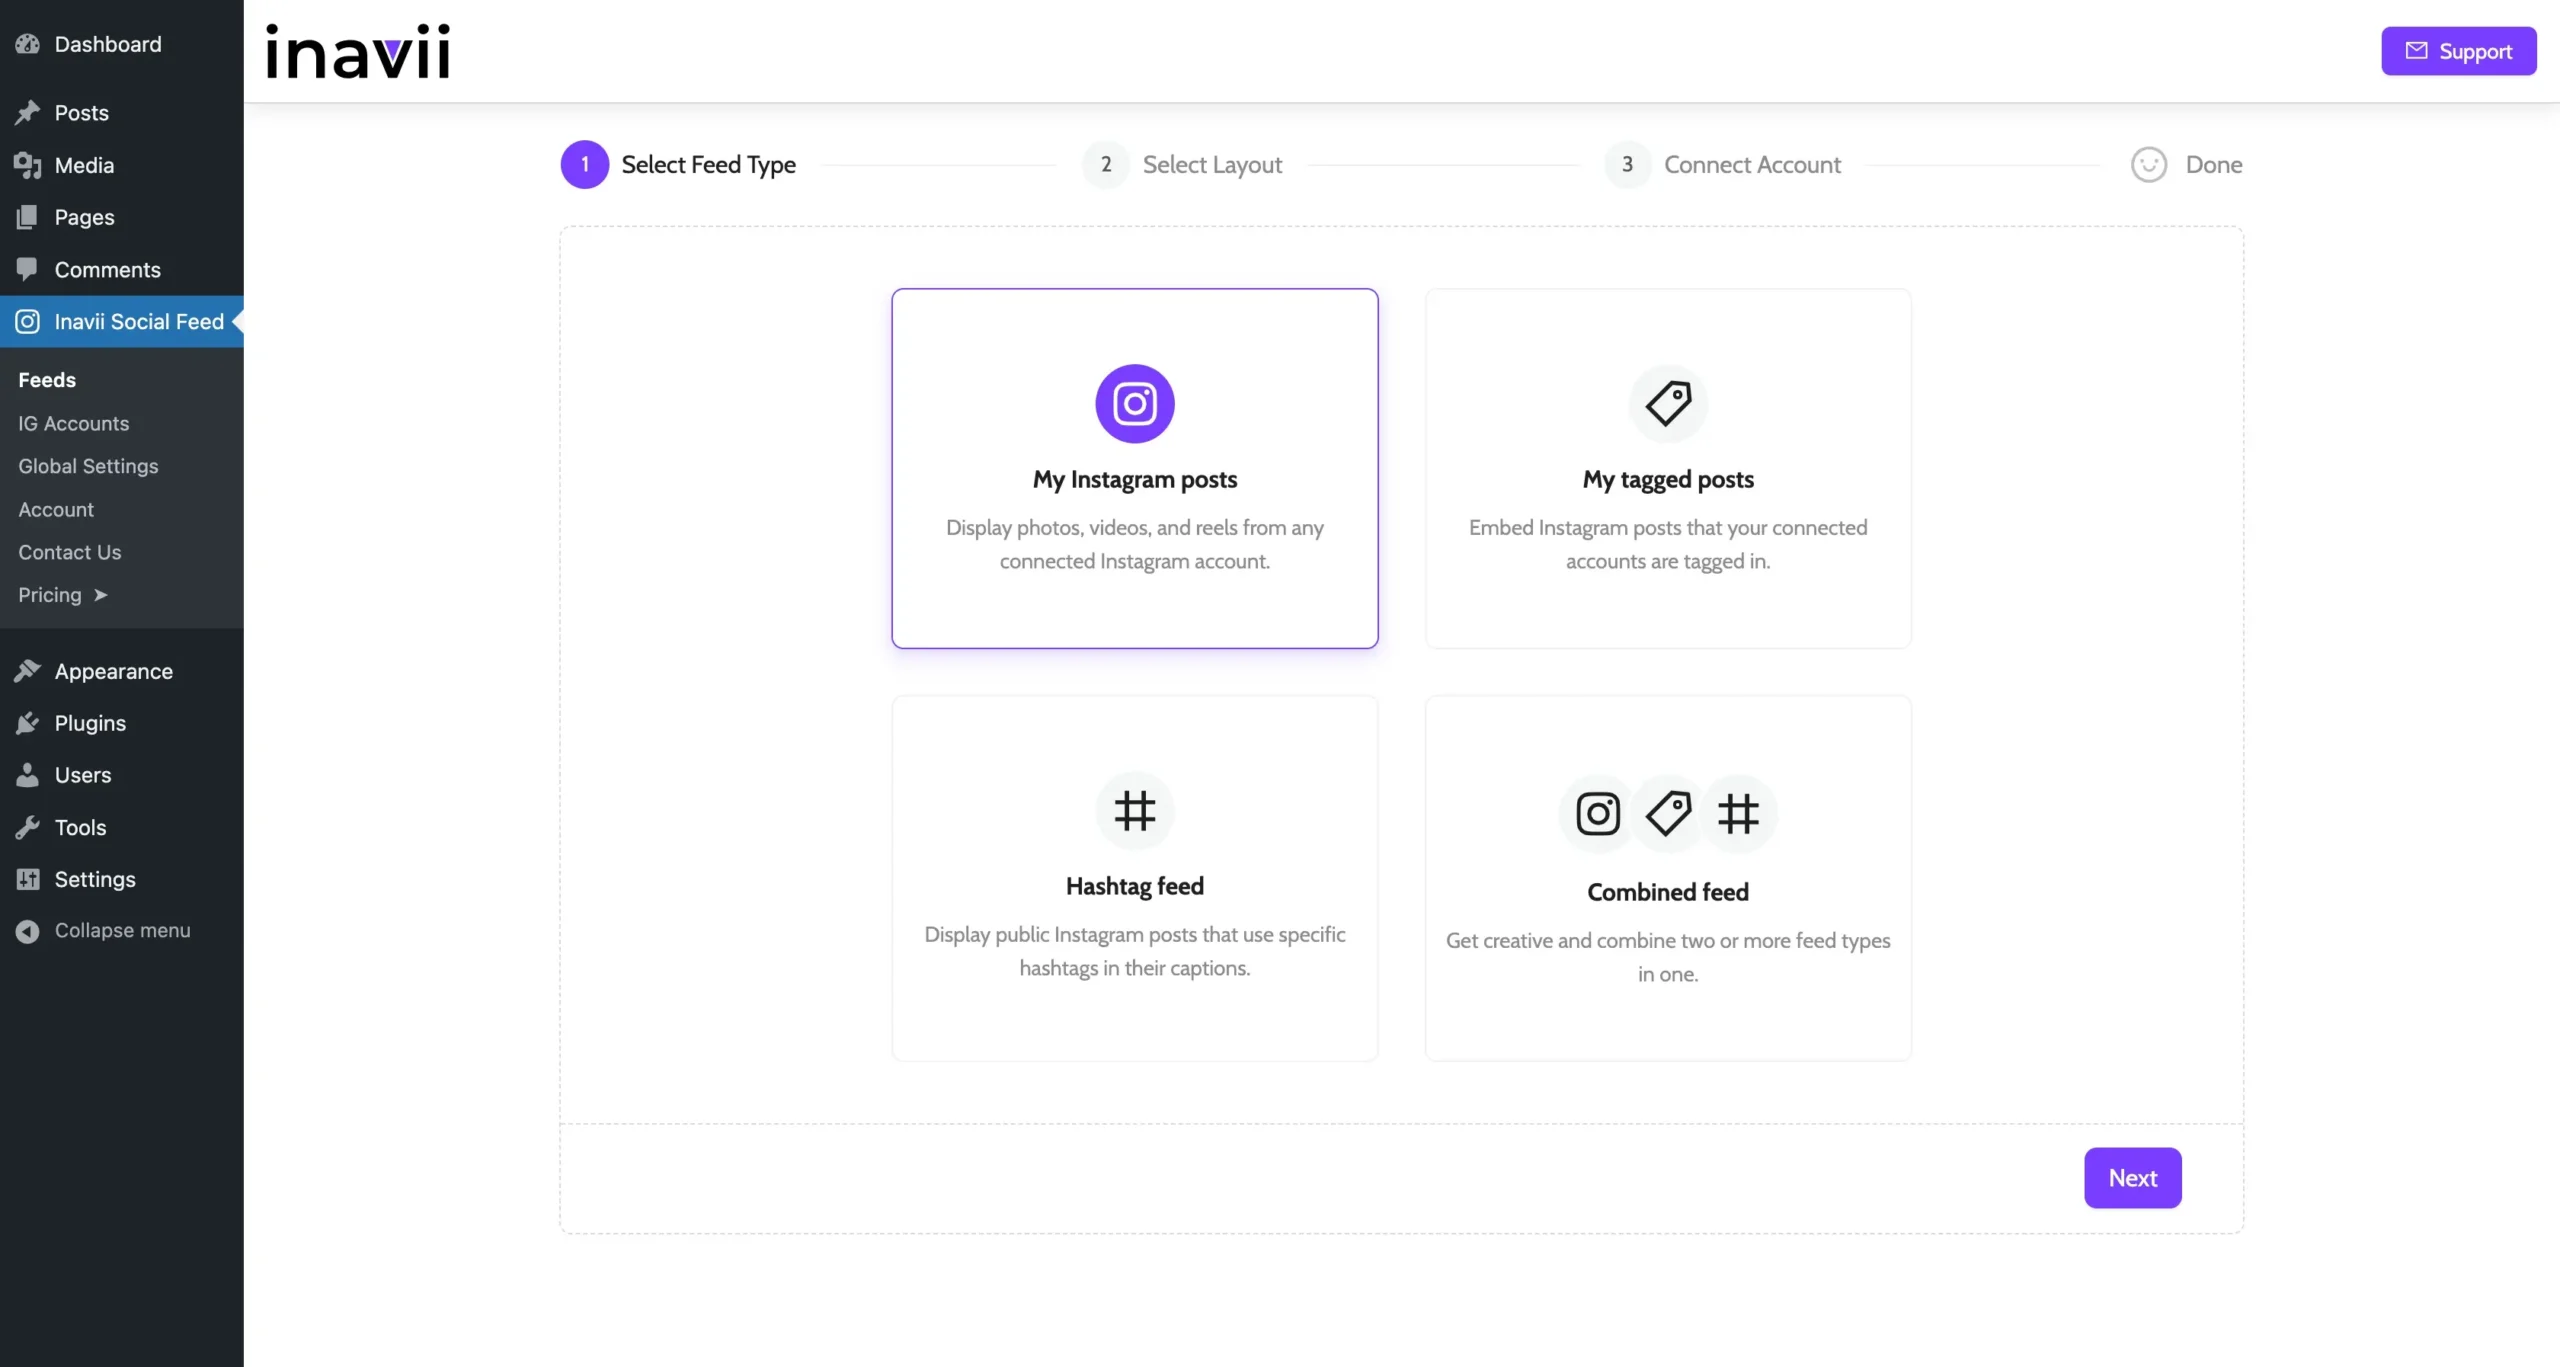
The first step in working with Inavii Social Feed is to choose the right feed type that best suits your needs for integrating Instagram content on your website or blog.
You can read more about this here
Step 2 Select layout
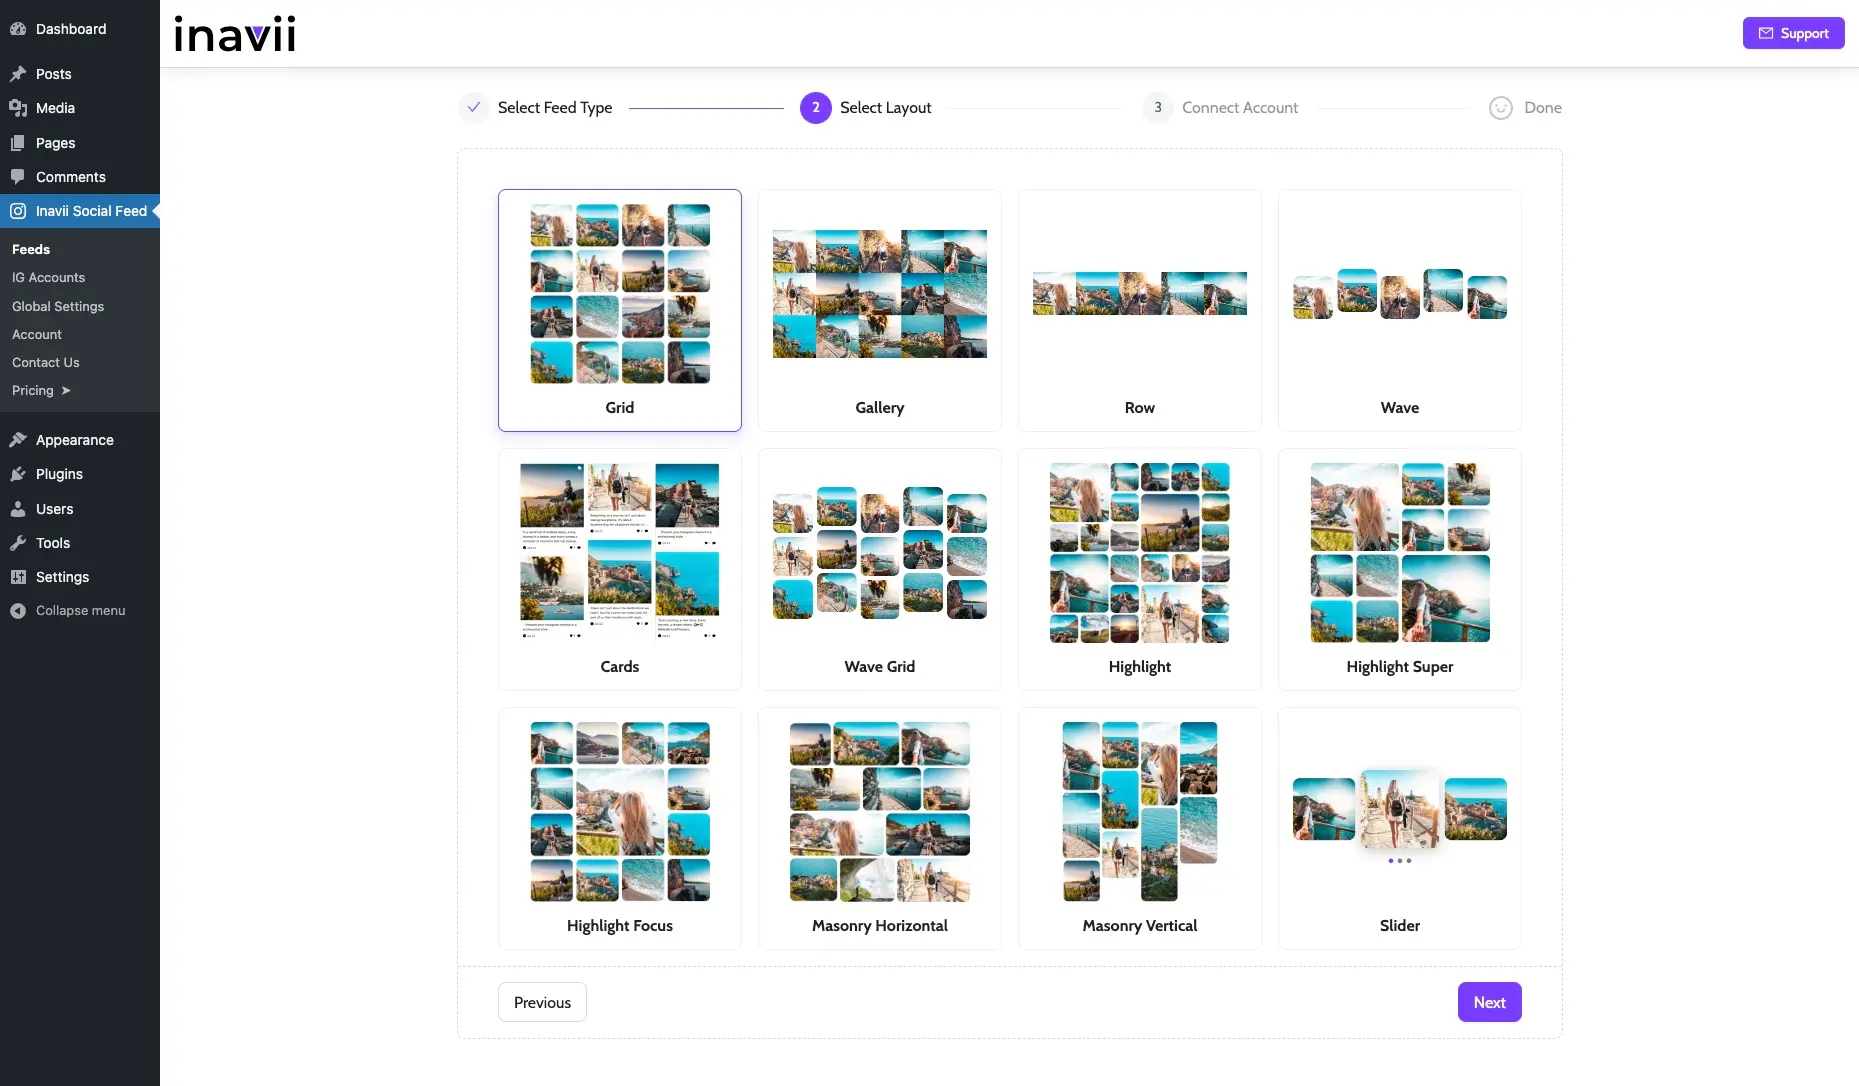
The second step is to view the layouts offered by our free version and choose the one you like.
The top bar will tell you exactly where you are in the process of creating your first feed.
First of all, you should select the layout you like to promote your post with. Our Elementor Instagram Feed has various numbers to choose from.
Some are free:
- Grid
- Gallery
- Row
- Wave
- Cards
- Wave Grid
- Highlight
- Highlight Super
- Highlight Focus
- Masonry Horizontal
- Masonry Vertical
- Slider
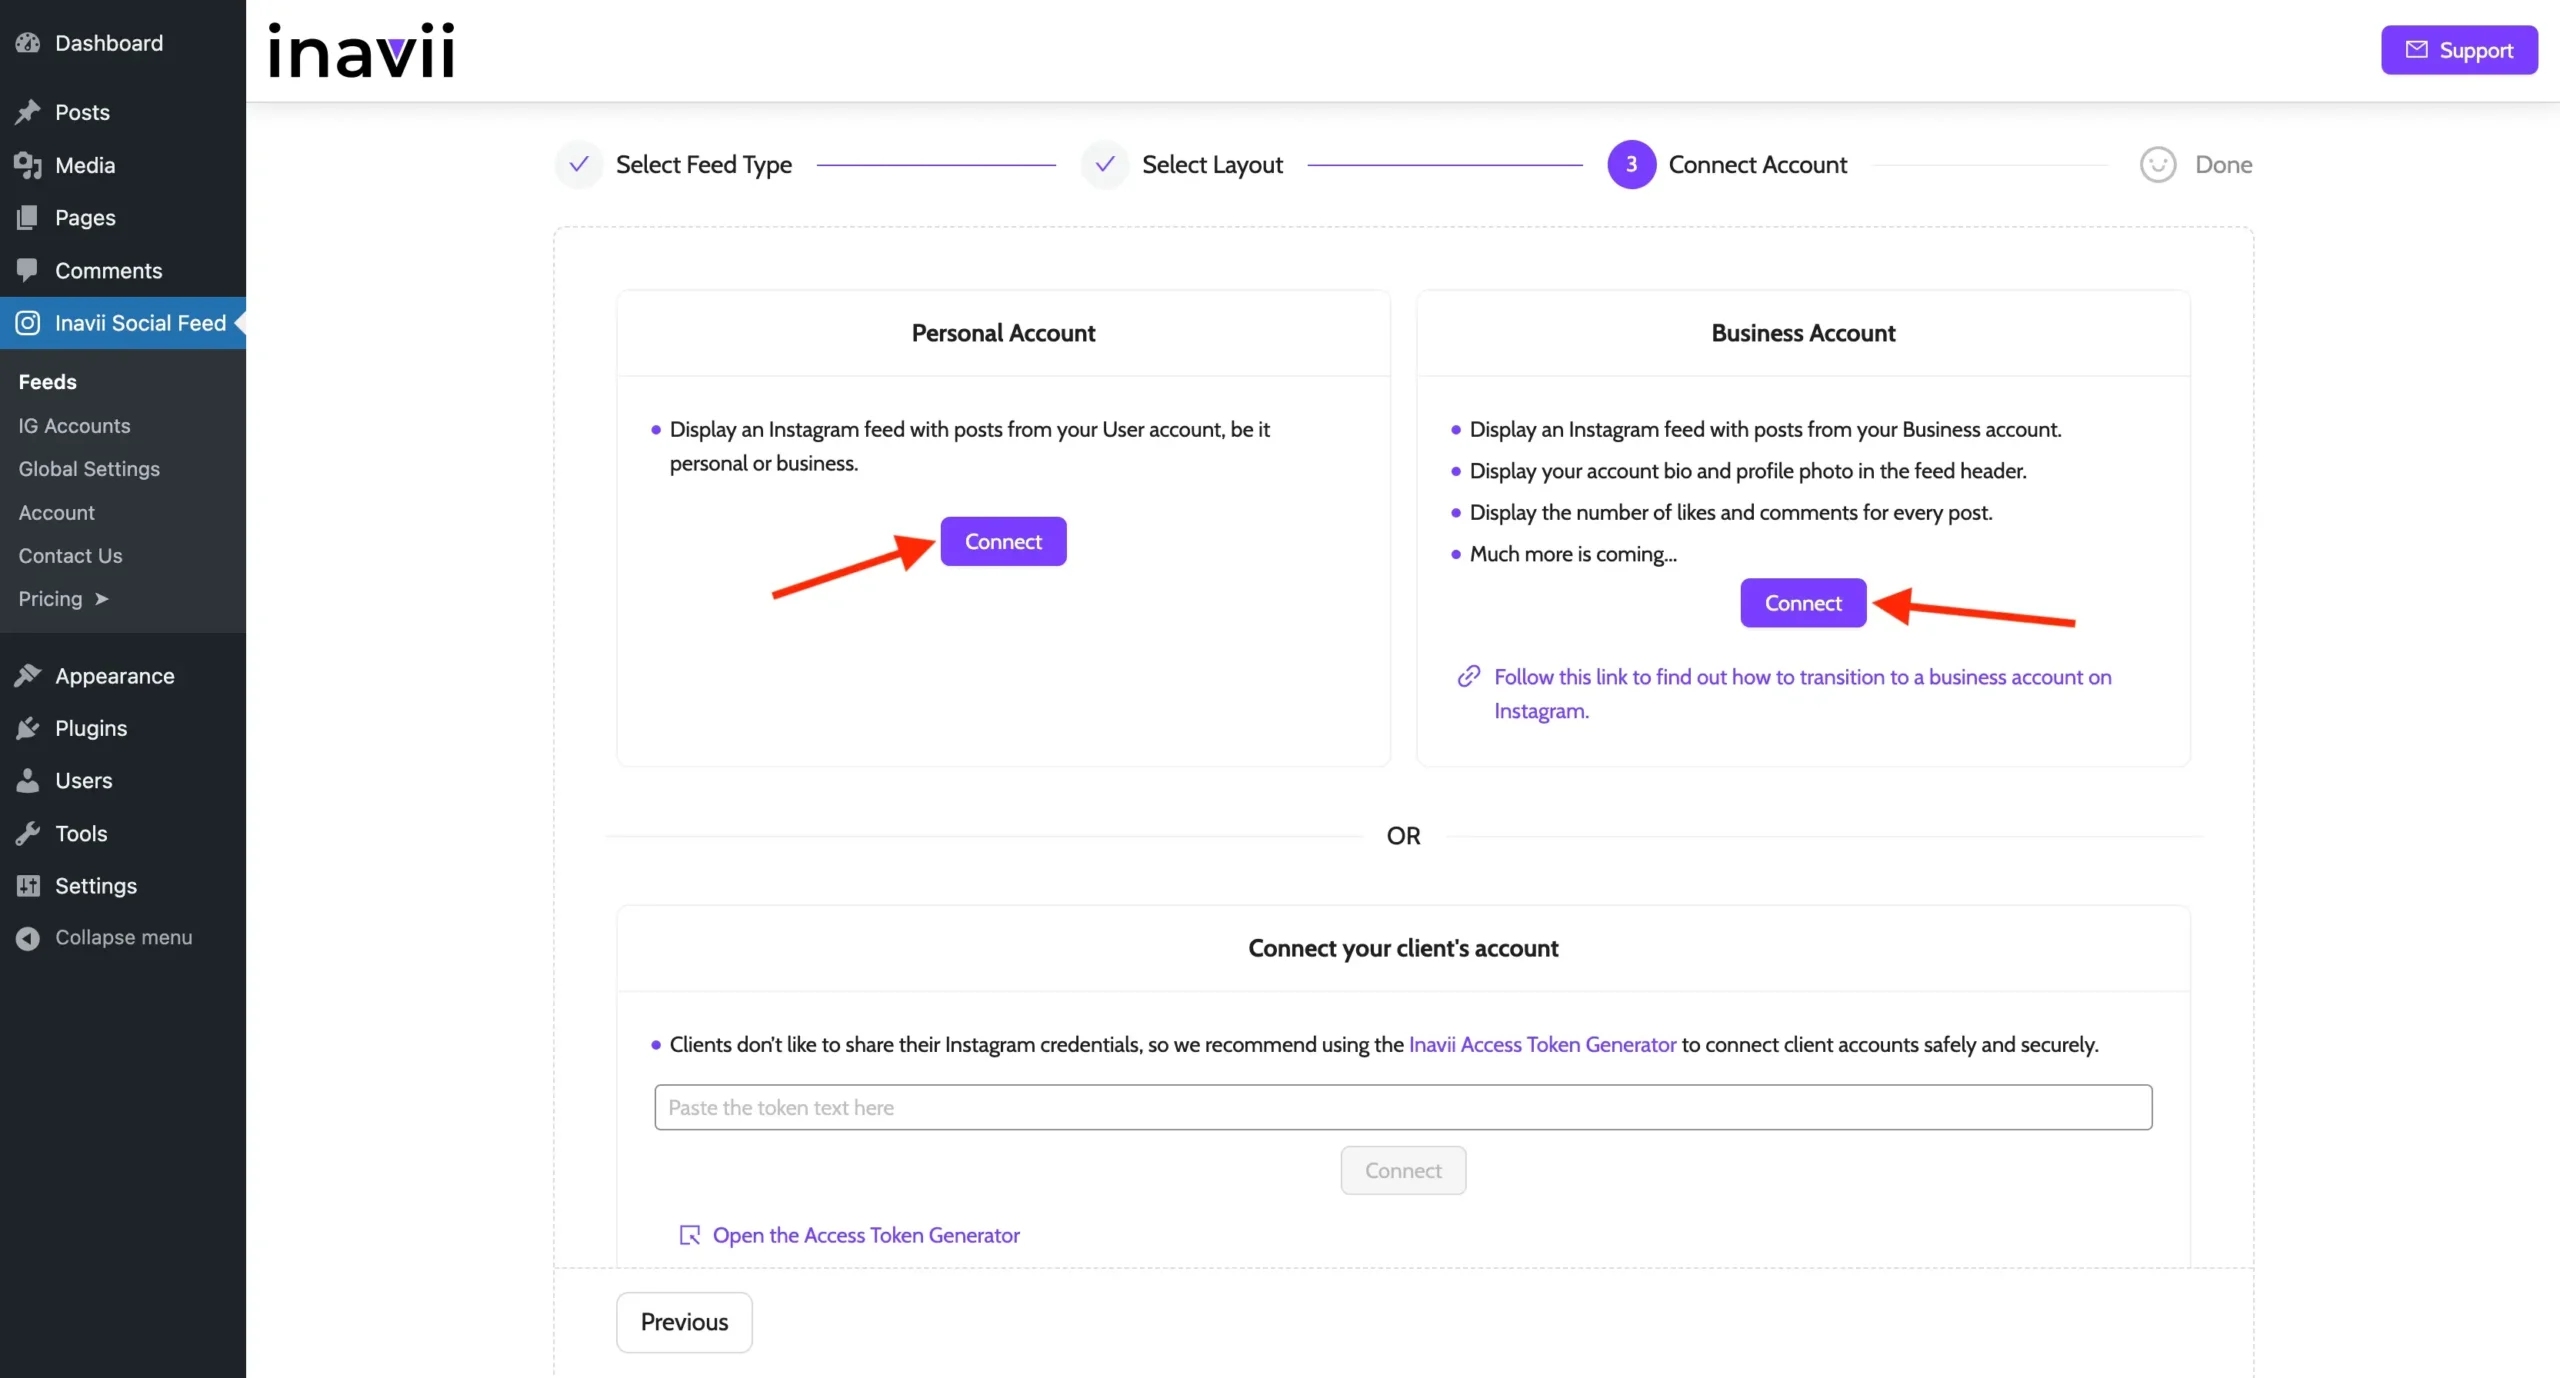
Step 3 Connect account
Here you will be able to connect your Instagram account to the website. First, select the account type that you wish to connect to and then you can choose between personal or business accounts.
If your account is a business one you will be taken to a Facebook setting page, where you have to select the account from the list. This procedure is very easy and straightforward, so no need to worry about not completing these 2 simple steps correctly.
Once the account is selected you are just one step away from being connected to your website, simply click the button “connect.”
You can read more about this here
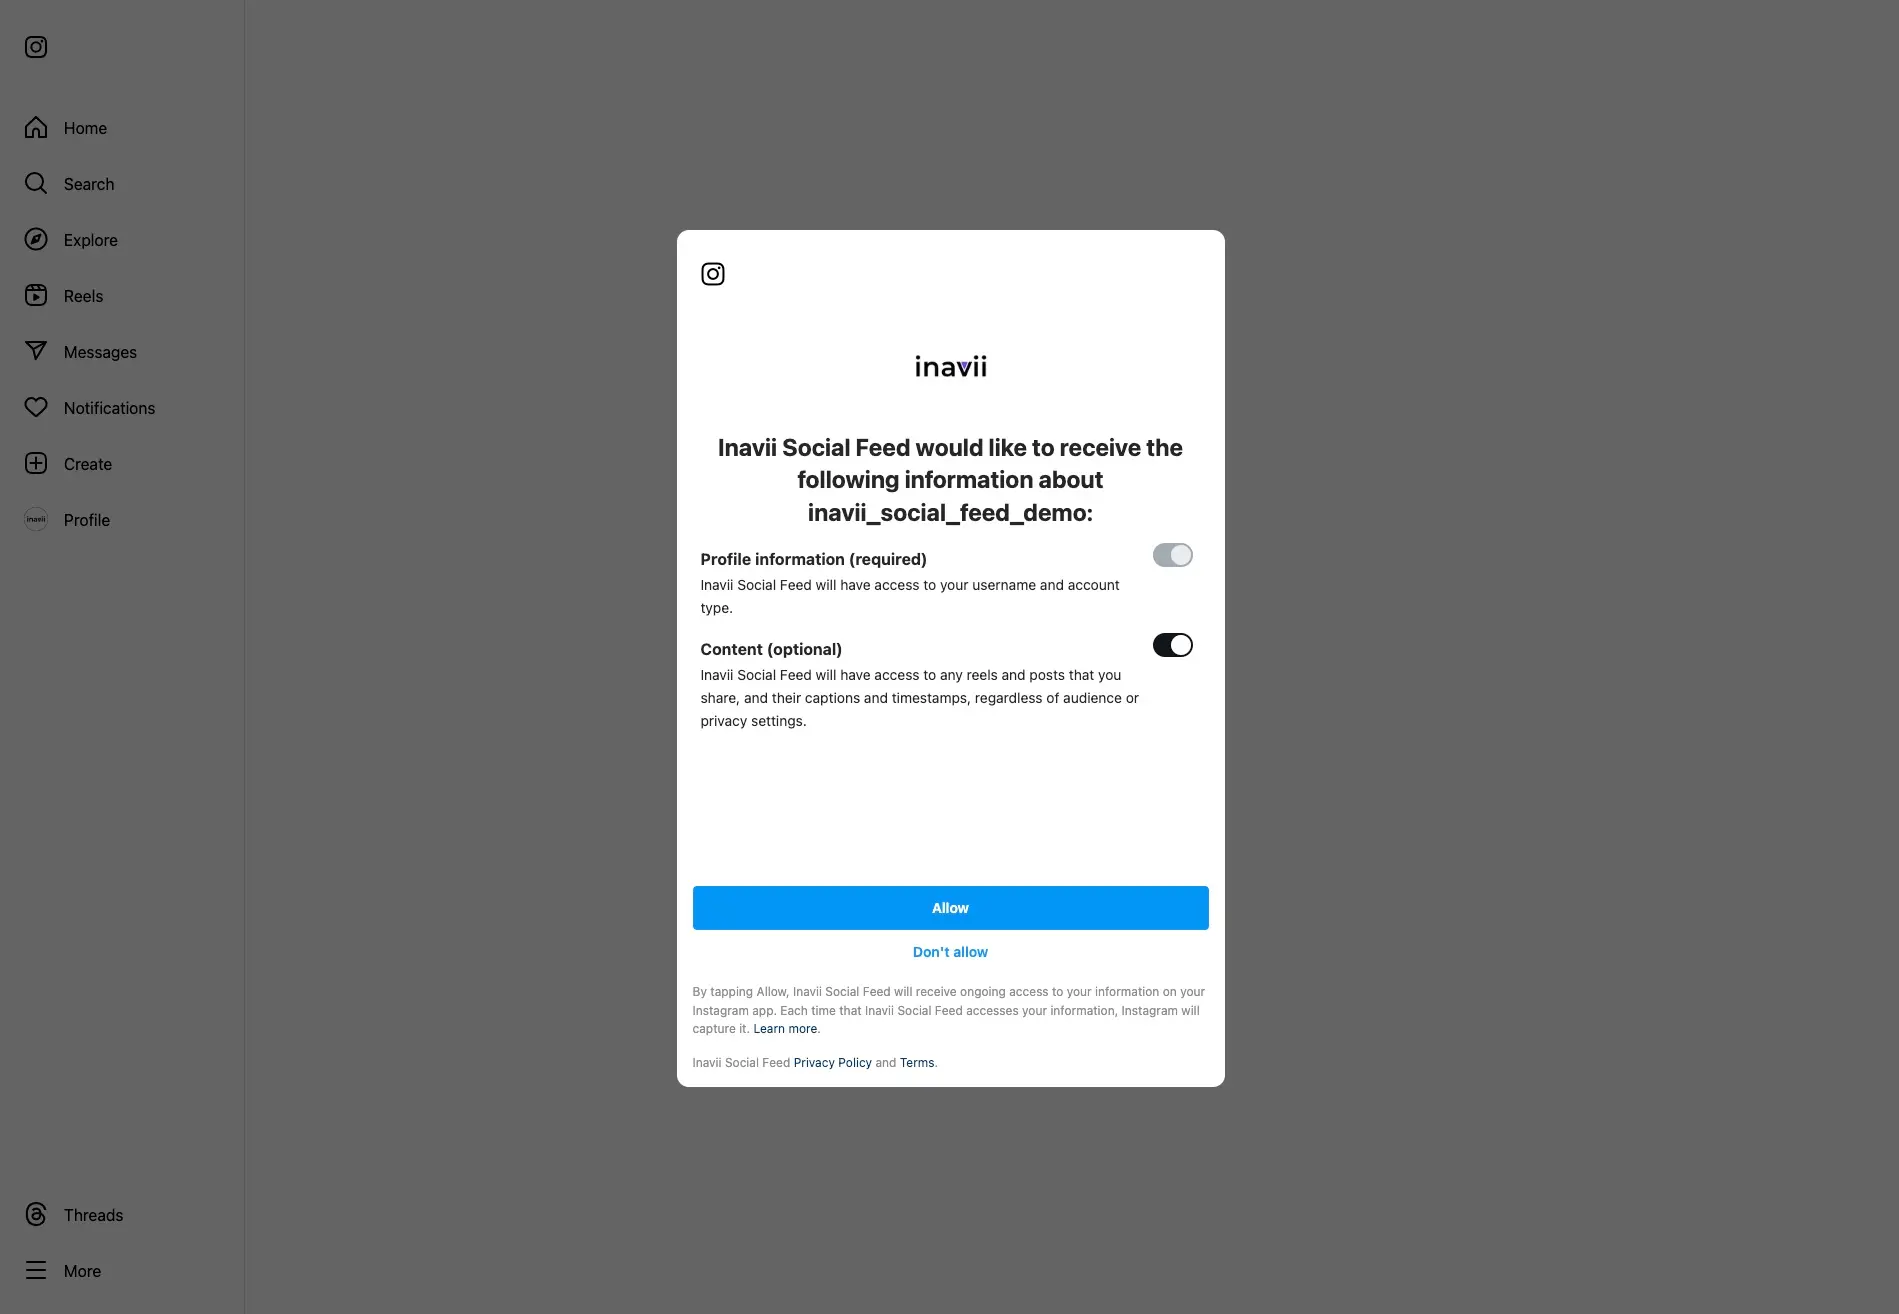
During that process, you will see some standard screen regarding Instagram Settings, you just click allow button.
Once the above steps are 100% done on your side, you will be taken back to the WordPress backend page to name your first feed.
How exciting! You are just one step away from seeing your latest posts from Instagram.
Once you have your Instagram account connected and you made up your mind about the layout you wish to have, it is a perfect time to give it a name and finally be able to use it!
The world is your oyster – no limits here!
Unleash your creativity, and enjoy!
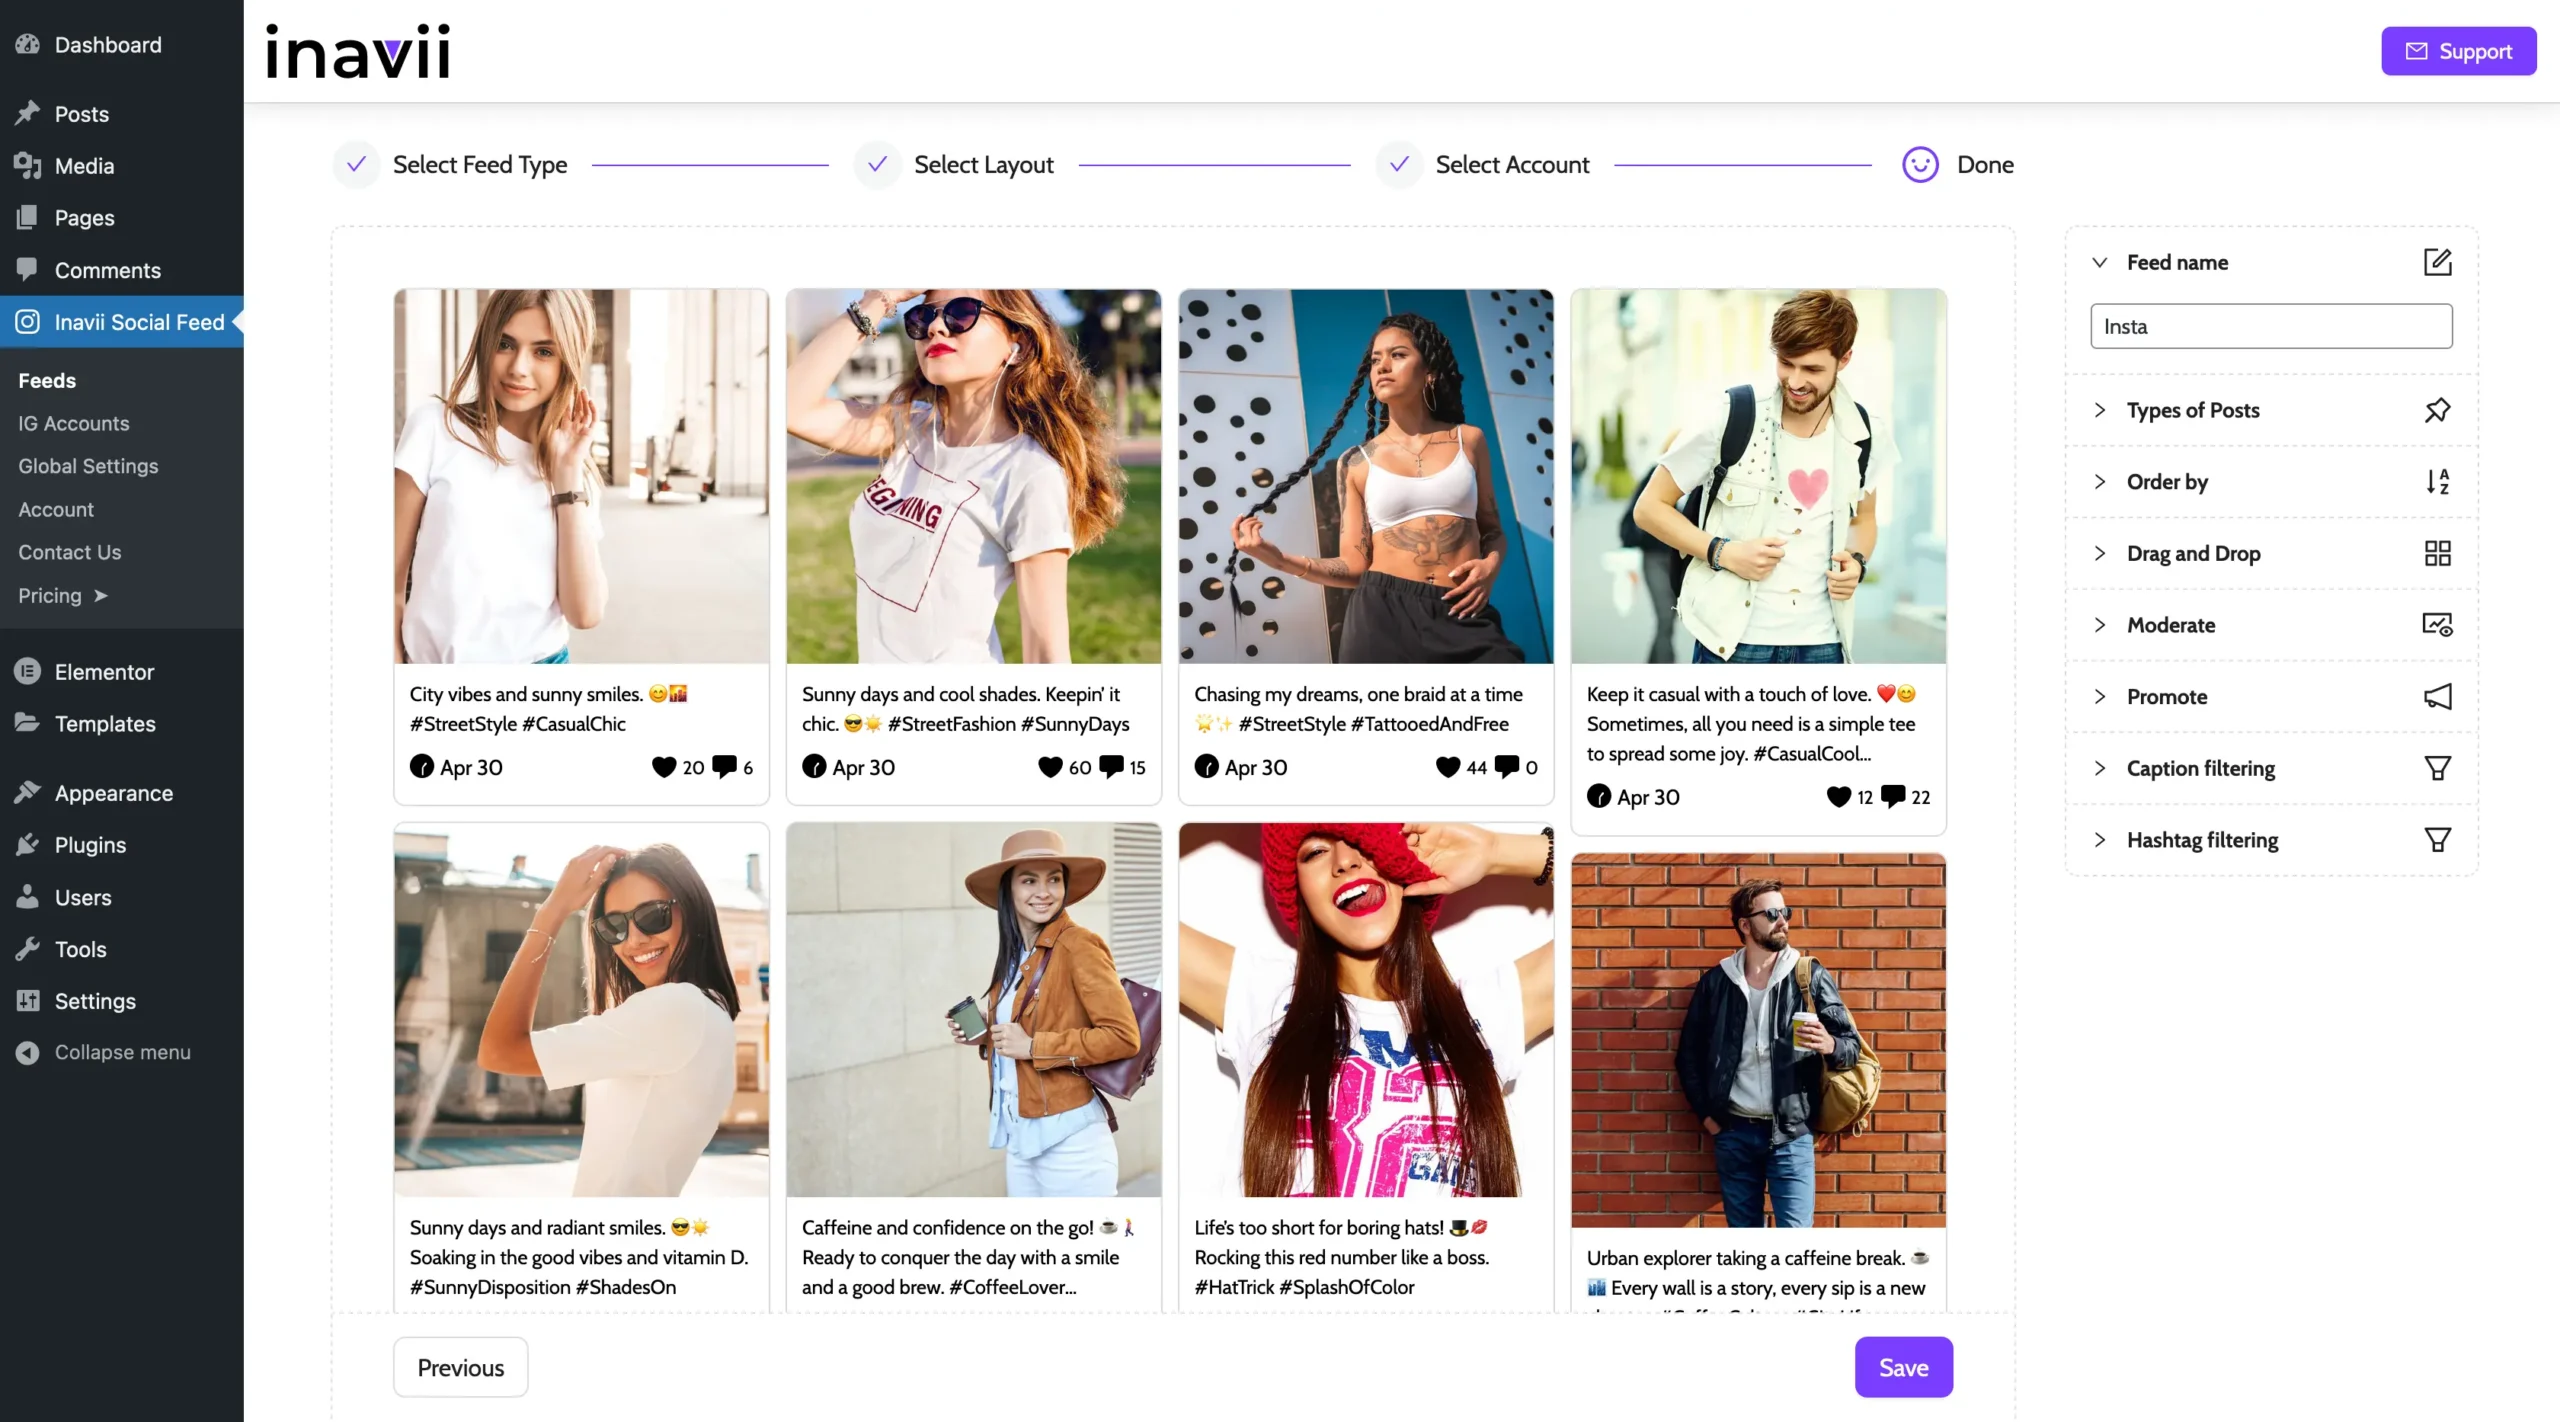
By ‘saving’ this action you will be successfully connected and will be able to promote your newest post by using our amazing Elementor Instagram Feed.
Step 4: Instagram Elementor Feed connected to your page
What allows us to stand levels above everyone else is that our Elementor Instagram Feed is exclusively designed for Elementor. This is what makes us so distinct and exceptional in what we have created from scratch. Despite strong market competition, none of them possess such a perfectly tailored product dedicated to a specific page builder.
If you would like to see your freshly created feed in action, go to the page you would like to add your feed, type into the search bar the keyword Inavii – and click on the icon that will appear after hitting enter.
Then from the Feeds Layout dropdown, select the one you just created and named.
Job done!
Thanks to our Elementor Instagram Feed, you can now enjoy your fantastic website with a refreshed visual design.
Remember – the PRO version offers so much more!
Don’t wait to download our Inavii Social Feed for Elementor today!